NDev provides a simple extensible architecture for developers that wishes to write plugins. This sections is broken into 2 parts:

Available plugins

Name Description Author Version Download
NS This plugins is designed specified for development in the Altiris NSCore environment. It handles clearing of the DAL and copying of config files into the installation folder. Me 1.0.2 Click here

If you want your plugin to be added to this list. Post a comment on the NDev Blog.

Create your own plugin tutorial

In order to create your plugin in, the minimal you need is:

  • Microsoft .NET 2.0 development environment (e.g. Visual Studio .NET 2003 or above).
  • NDev version 1.5.0 or above.
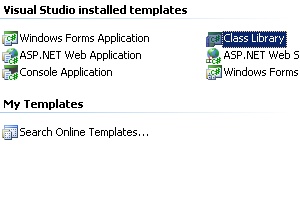
Step 1 - Create a "Class Library" project
Step 1
  1. Open Visual Studio, select "File" > "New" > "Project...".
  2. On the "New Project" dialog, select the "Windows" category on the tree on the left.
  3. Select "Class Library" as the project type to create.
  4. Enter the name and location of your plugin project.
  5. Click OK.
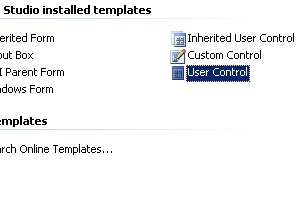
Step 2 - Add a Windows Forms Control into your project
Step 2
  1. Go to the "Solution Explorer" (If it is not already open, go to "View" > "Solution Explorer".
  2. Right-click on your newly created project, select "Add" > "New Item...".
  3. On the "Add New Item" dialog, select the "Windows Forms" category on the tree on the left.
  4. Select the type of Windows Forms control you wish to create (e.g. User Control is the simplest if you are not certain).
  5. Name your control and select "Add" to add the control into your project.
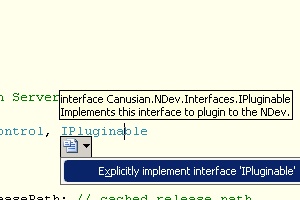
Step 3 - Implements the IPluginable interface
Step 3
  1. On the Solution Explorer, right-click on References, select "Add Reference...".
  2. On the "Add Reference" dialog, select the "Browse" tab and browse to the NDev.exe file and select it. This will add a reference to the NDev assembly API.
  3. Open the newly added Control's source file.
  4. Implements the Canusian.NDev.Interfaces.IPluginable interface.
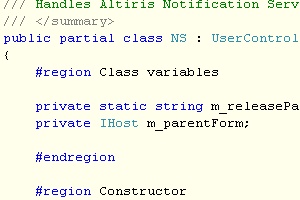
Step 4 - Implements the logics
Step 4
  1. Write codes to implement your NDev plugin's logic.
  2. Remember that you need to place your compiled assembly (dll) under the NDev's plugins folder in order for your plugin to show up as a tab inside NDev.
Step 5 - Place plugin under the /plugins folder
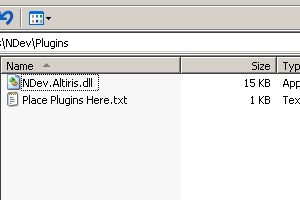
Step 5
  1. Once you completed your plugin, place your compiled assembly (dll) under the NDev's /plugins folder.
Step 6 - Run NDev
Step 6
  1. Run NDev and see your plugin in action!

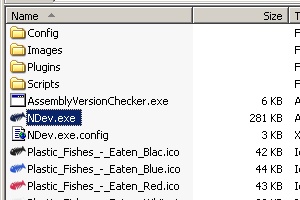
It is that simple. If you would like me to extend on this in more details, raise a suggestion in the Feedback and Bugs page.

Links